
CSI Secure Connect allows customization of the front page in a number of ways.
|
Links: |
By default, the Home, Calendar, Contacts, Users, Groups, Email and Help buttons will display on the tool bar. The other available links are Data, Discussions, Task, Rates, Timekeeping, Sync, Forms and Work Flow. After your selections have been made, click the Update Links button. |

|
Personals and Postings: |
This section allows your Site Administrator to display user birthdays and anniversaries, new hires and new postings on pages within CSI Secure Connect. |
Birthdays and anniversaries are displayed as a 14 day sliding window and will appear one week before the date and stay on the front page for one week past the event. With the Anniversaries option,your Site Administrator can choose to have user anniversaries display every year or in five year increments.
The New Postings section of CSI Secure Connect displays items that have recently been posted. Your Site Administrator can enter any number here to indicate how many days an item should be considered “new” for these purposes.
All of the options are selected by default, but Site Administrators do have the choice to remove any or all of these from the front page. Simply click the check box to the right of any option to clear the check mark and remove that item from the front page. After the selections have been made, click Submit.

|
Search Engines: |
There are several search engines to choose from when accessing the Internet from CSI Secure Connect. When your selections have been made, click the Update Search Engines button. |

CSI Secure Connect allows customization of main (parent) pages and sub-pages to accommodate your organization’s needs.

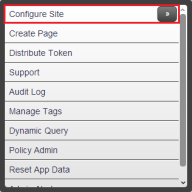
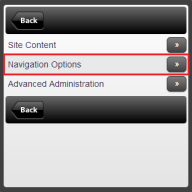
To adjust the order of the main (parent) pages listed on CSI Secure Connect under the Pages icon, click the arrow beside Edit Navigation and select Adjust Main Page Order.

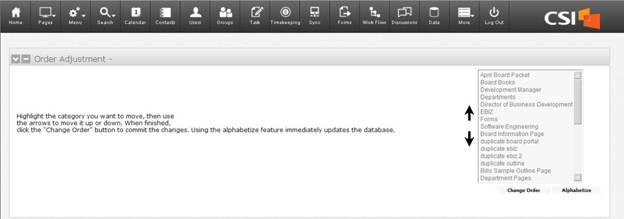
Highlight the category you want to move and click on the arrows to move it up or down in the list. To submit the changes, click the Change Order button. The new order will display the next time the current page is refreshed. Site Administrators also have the option to alphabetize the pages by clicking the Alphabetize button.
Also from the Navigation option, CSI Secure Connect main (parent) pages and sub-pages can be edited or deleted, and sub-pages can be re-ordered.
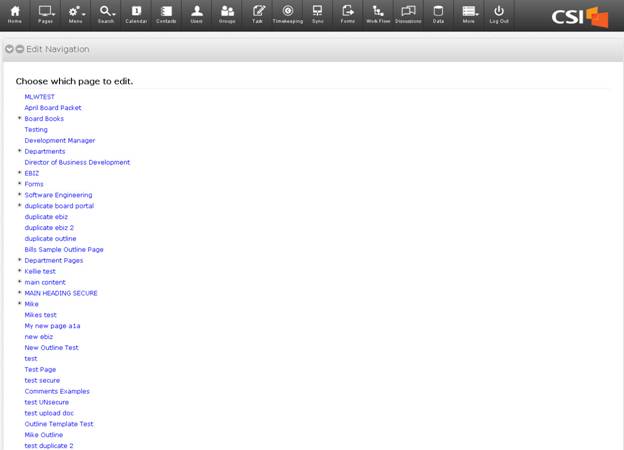
To edit or delete a main (parent) page or sub-page, select the page you want and click the Edit button.
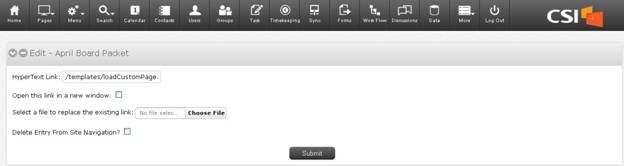
![]()
From here, your Site Administrator can enter a hypertext link or browse for a replacement file. It is also here where the entire page can be deleted from Site Navigation. When finished making changes, click the Submit button.
Note: If a main (parent) page is deleted, all sub-pages listed under the main page are deleted as well.
To re-order the sub-page list, select any page from the main list and click the Edit button. Click the dropdown arrow beside Edit on the following page and select Adjust Sub Page Order.
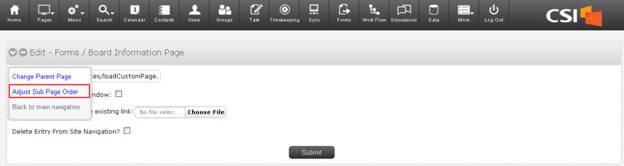
Highlight the category you want to move and click on the arrows to move it up or down in the list. To submit the changes, click the Change Order button. The new order will display the next time the current page is refreshed. To alphabetize the pages, simply click the Alphabetize button.
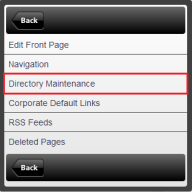
If a file is deleted from CSI Secure Connect, the content associated with that file remains on the server until it is manually removed. This is to eliminate any issues associated with files that are linked from other pages within CSI Secure Connect. To clean up the directories, select Directory Maintenance.
To permanently remove a file, select the file name and click Delete.

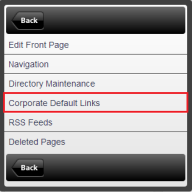
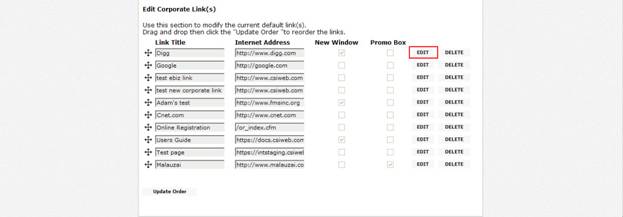
Your Site Administrator can enter links that will appear in every user’s My Links section of CSI Secure Connect by selecting Corporate Default Links.
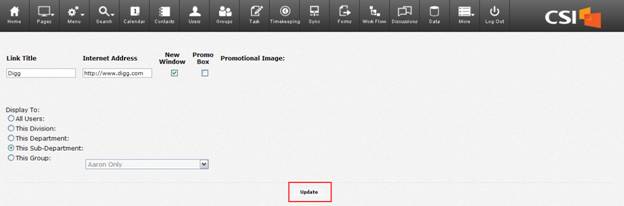
Enter a title for the link in the blank Link Title text box and the web address in the Internet Address text box at the top of the page. Check the box below Internet Address if you want the link to open in a new window.
To display the corporate link to all users, click the All Users radio button. To restrict the users who see the link by division, department, sub-department or group, click the corresponding radio button and select the specific users from the dropdown list beside your desired category.
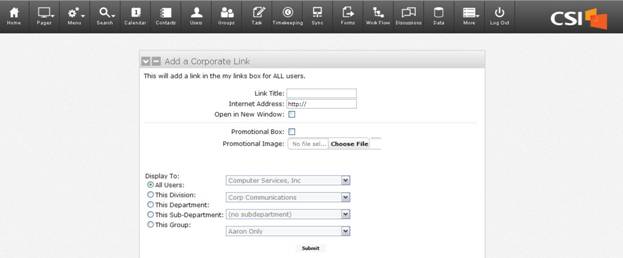
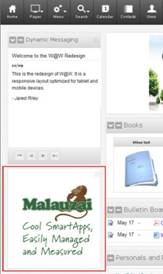
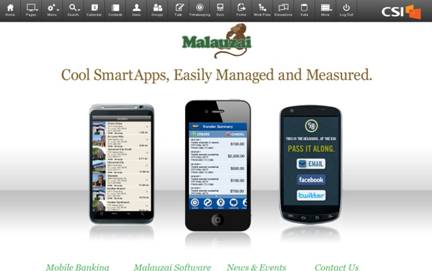
Promotional boxes are pictures that display in a small box on the left-hand side of the CSI Secure Connect Home Page. Site Administrators can upload a graphic that will appear below the Dynamic Messaging section and will take users to the promotion’s URL when selected.
Once you complete the necessary information needed to add a corporate link, click the Submit button in the middle of the page. Return to the CSI Secure Connect Home Page to see the new link appear in the current list of corporate links.
To delete any of the current corporate links, click the Delete button at the end of the appropriate row. The link you deleted will immediately be removed from the list of corporate links.
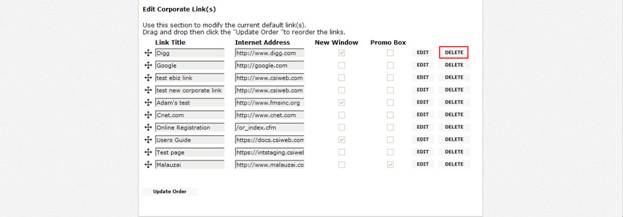
To edit the current corporate links, click the Edit button at the end of the appropriate row. This will take you to a new screen that will allow you to edit the link title, internet address, new window option, promo box option and the users you wish to see the link. Click the Update button when you are finished making changes.
To edit or change the promotional image graphic, the original item must be removed from the Corporate Links section. The link will need to be recreated with the new graphic. When a promotion is over, simply uncheck the Promo Box option. The link itself will then become a part of the My Links section of the CSI Secure Connect Home Page, rather than the separate graphic located below Dynamic Messaging.
The list of corporate links can be customized to appear in any order your Site Administrator chooses. To reorder the link list, click the arrow icon in front of any link row, and drag and drop the links into the order you want. Once you have finished reordering the list of corporate links, click Update Order. The links will now appear in the newly edited order on the CSI Secure Connect Home Page.

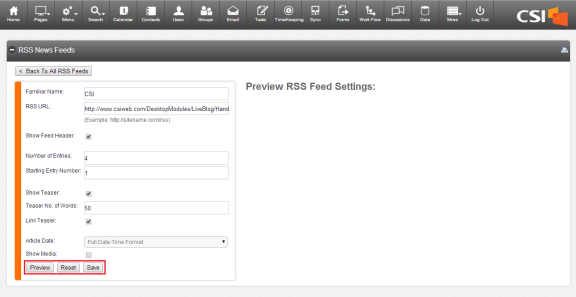
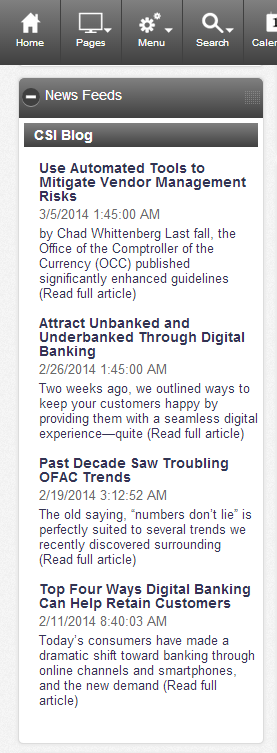
The site administrator can edit the RSS Feeds that appear on the home page.

Click the Add A New RSS Feed button.

Fill out all appropriate information.
|
Field Name |
Description |
|---|---|
|
Familiar Name |
The Familiar Name is a short title for your RSS News Feed. It will help you distinguish between feeds if you have more than one. |
|
RSS URL |
Enter the address for the news feed. |
|
Show Feed Header |
To show a feed header, make sure this box is checked. If you would rather a feed header not appear, uncheck the box. |
|
Number of Entries |
This is how many articles you want to have appear in your RSS Feed. The default number is set to four, but this can be changed by typing in another number. |
|
Starting Entry Number |
The Starting Entry Number determines which news feed entry to start with based off of your RSS URL. If you would like your RSS Feed to begin with the first entry featured from your RSS URL, enter 1 (second entry, 2 and so on). |
|
Show Teaser |
Showing a teaser will display a few words from each of the articles in your RSS Feed. Check the box to show a teaser, or uncheck the box if you would prefer no teaser appear. |
|
Teaser No. of Words |
Enter the number of words that should be displayed in a teaser (if option selected above). The default is 50 words, but this can be changed by typing in another number. |
|
Link Teaser |
If the Link Teaser box is checked, a user can click on the teaser and be taken to the website from which the article came. Uncheck the box if you would prefer that the teaser not be linked. |
|
Article Date |
Article Date determines how you would like the date and time to appear with each article. There are four options from which to choose: Full Date-Time Format, Date Only, Time Only, and Timeline. |
|
Show Media |
If you would like for media to appear in your RSS Feed, check the Show Media box. Uncheck the box if you would prefer no media appear. |
Click Preview to see how your RSS Feed will appear on the home page. The Reset button will revert all of your work back to the default settings. Click Save to save your work.
Click Update on the RSS Feed you wish to edit.
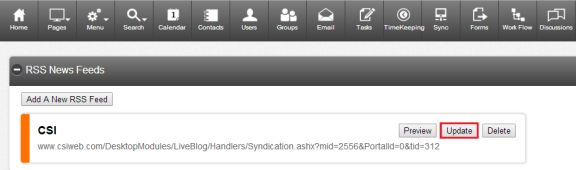
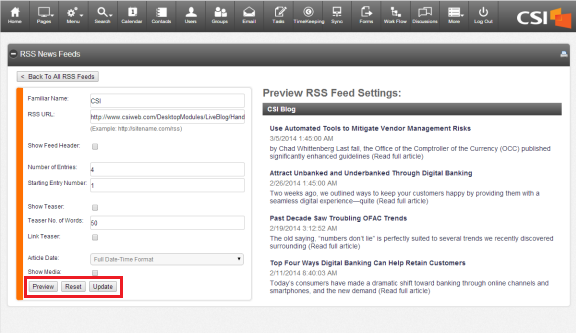
Make any necessary changes.
Preview will allow you to see a preview of your RSS Feed as it will appear. Reset will revert your changes back to the default settings. Click Update once you are finished to save your changes.
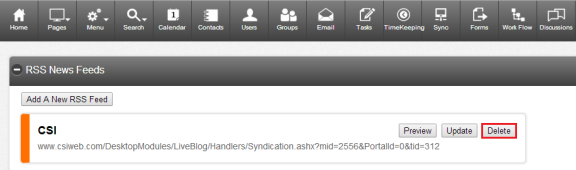
Click on the Delete button that corresponds with the appropriate RSS Feed.
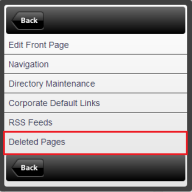
Administrators have the ability to restore a page after it has been deleted. To restore a page, follow these steps.
The Deleted Pages section will display all of your deleted pages. Search for the name of the deleted page you would like to restore and click the corresponding RESTORE button to the right of it. This will restore your page in the same location it was prior to being deleted.
