Creating a New Tax Payment
The Tax Payment tab is where a customer would create a payment to the government for various Taxes. Required fields are notated by an asterisk.
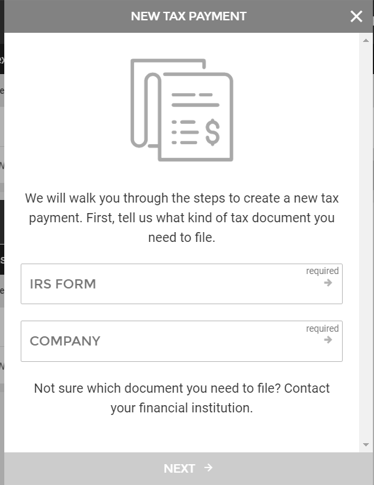
- IRS Form: Use the arrow to select the appropriate option. This is the form you wish to post the Payment to.
- Company: Use the arrow to select the appropriate company. This is the Company name you wish to display to the IRS when making the Payment.
- Identification (EIN): This will be automatically populated based on your Company selection. This is a read only field that is populated from the Company Setup process.
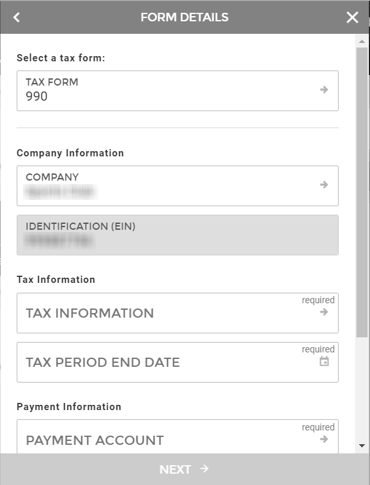
- Tax Information: Use the arrow to select the appropriate information. This field allows a description to be added about the payment.
- Tax Period End Date: Use the arrow to select the appropriate end date. The last day of the tax period.
- Payment Account: Use the arrow to select the appropriate payment account. This is the account that the payment will be pulled from.
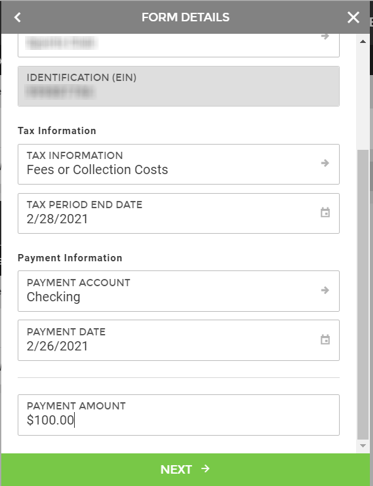
- Payment Date: Use the Calendar icon to select the appropriate payment date. This field will be the effective date on the transaction.
- Payment Amount: Enter the payment amount.

19738
|
 Customer Portal