Adding a Policy
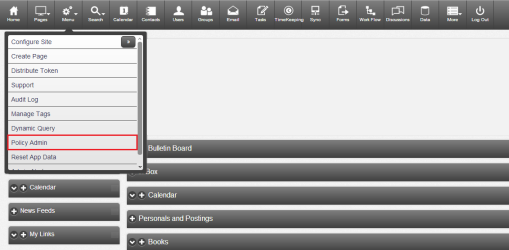
To begin, select Policy Admin under the Menu dropdown along the top of your screen.
When the Corporate Policy Admin screen appears, click Add Policy from the dropdown menu at top left of the Corporate Policy Admin box.

The Add a policy screen allows you to completely customize the display of your new policy.

Key in the Policy title and Policy text in the blank text boxes provided.
Choose to display the policy to the All Users group, Division, Department, Sub-Department or Group of your choice by selecting the appropriate radio button.
Determine the Implementation Date from the dropdowns.
Type the Display Frequency (days) and the Maximum Delay (days) into the blank text boxes provided.
Enter the email address into the blank text box for who should be notified if a user declines the policy.
Decide whether a user should be locked out if he/she declines the policy and mark the checkbox.
Choose whether or not to create a Task Management ticket if a user declines the policy by marking the checkbox. If you check this box, you must choose which Task Management issue to file the declined policy under from the dropdown.
Click the Submit button when you are finished customizing your new policy.
