 Customer Portal
Send Feedback
Print
Customer Portal
Send Feedback
Print
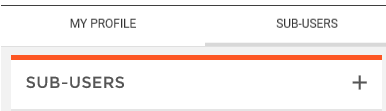
Create New Sub-UserThe Sub-Users page is where you can see all existing sub-users or create new sub-users. To begin creating a new sub-user, click on the + button at the top right of the page. This will bring up the Create New Sub-User wizard that will help guide you through the process of creating a new sub-user.
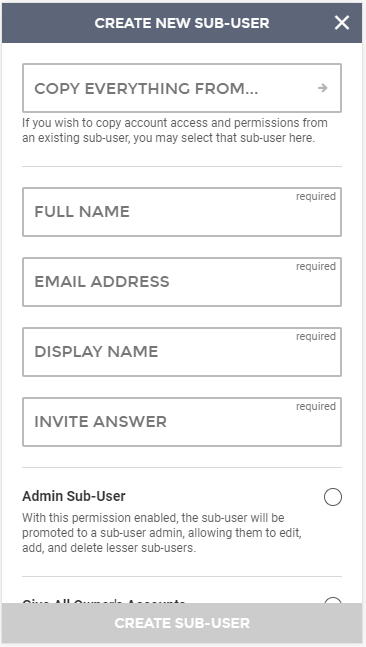
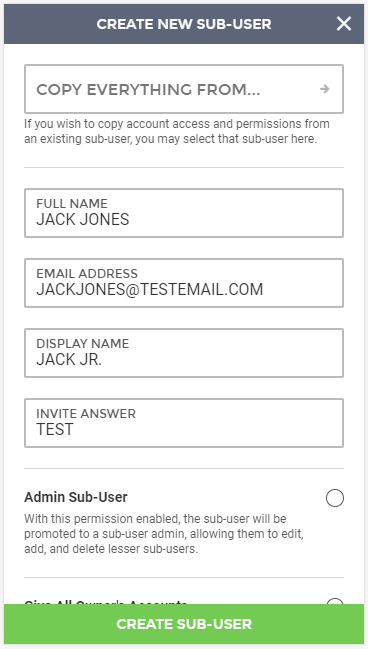
The first step in creating a new sub-user is entering the necessary user information, including:
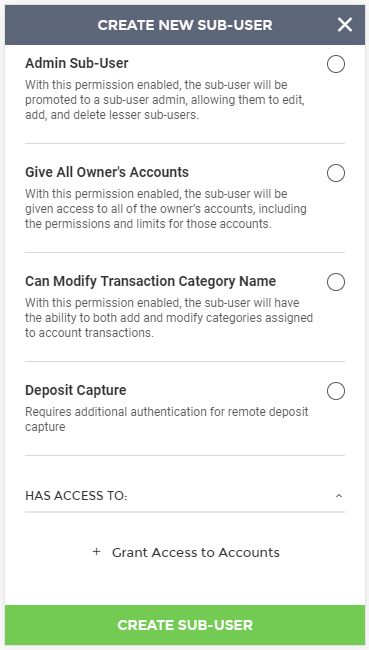
Other fields that may be displayed but are not required are:
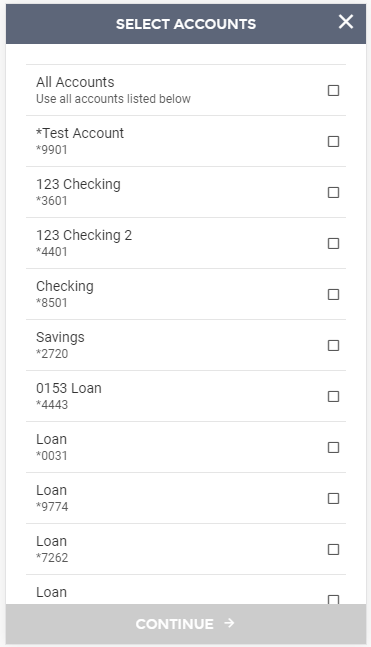
The last section is the Has Access To section. This is where you can grant your sub-user access to accounts. To grant access to accounts, click the + button. The Select Accounts screen will be displayed listing all available accounts. If you’d like to grant access to all accounts at once, select All Accounts. For specific accounts, check the boxes to the right of the accounts to grant them access.
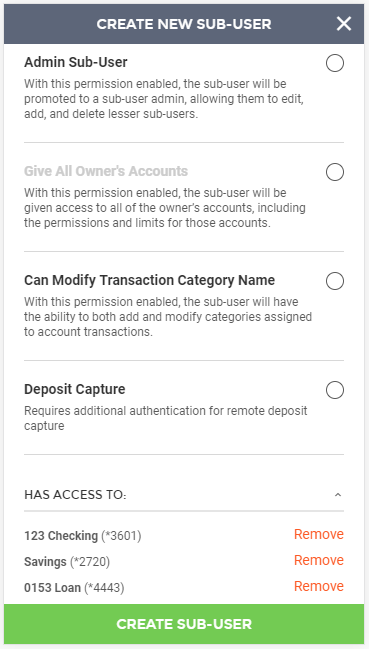
Once accounts have been selected, you can click Continue to return to the previous page. All accounts that have been selected will display. You can click on the Remove link to remove an account from the list. Once all information, settings, and accounts have been set, you can click the Create Sub-User button to complete the process.
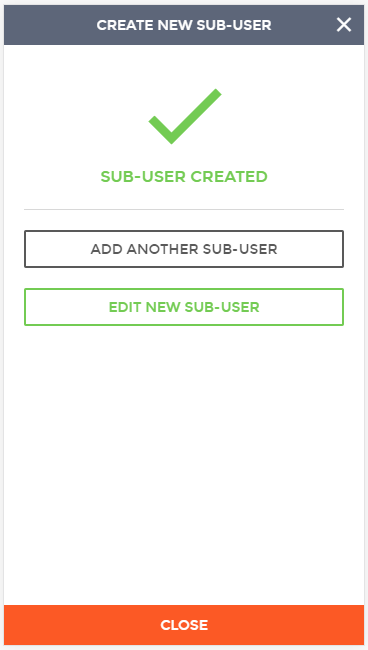
Upon finishing the process, you will see a Success message, letting you know that the sub-user was created. From this screen, you can add another sub-user, edit the new sub-user, or close the window to exit the wizard.
The new sub-user will be listed in the Sub-Users grid.
65742
| ||||

| Top of Page |
Customer Portal
Send Feedback
Print |
||
|
|||