 Customer Portal
Send Feedback
Print
Customer Portal
Send Feedback
Print
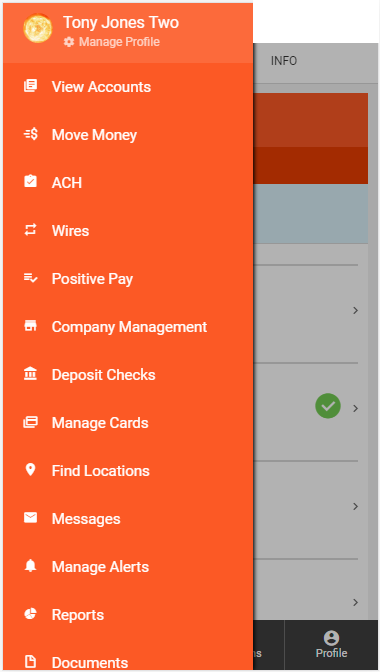
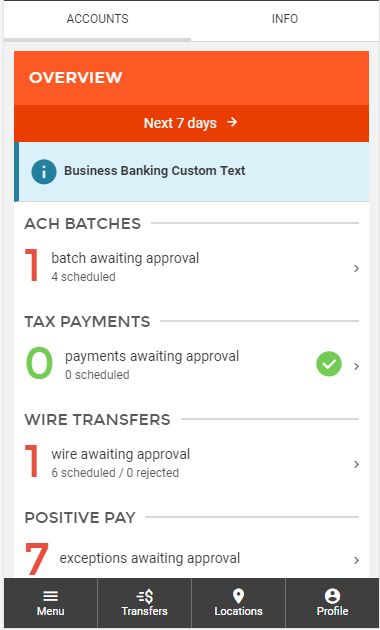
Uploading an ACH FileTo begin uploading a new ACH File, you can either click on the "ACH" menu item within the menu on the left side of the screen, or by clicking on the ACH batches section of the Overview on the landing page.
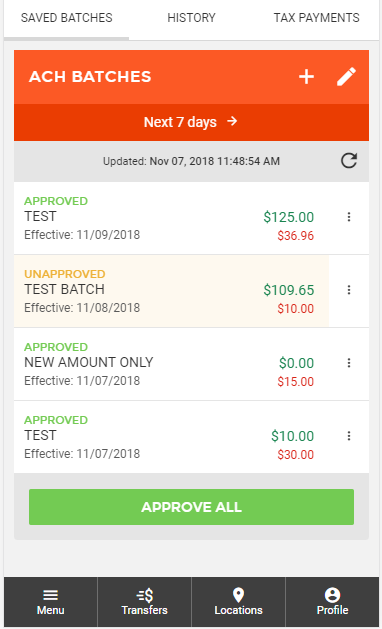
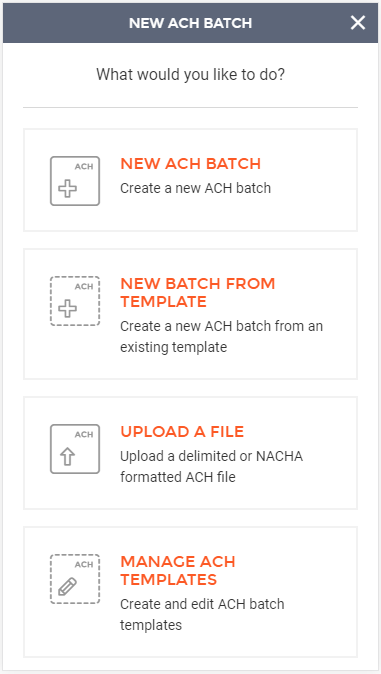
This will take you to a screen displaying all Scheduled ACH Batches, Tax Payments, and ACH History. To start the ACH File Upload process, you will need to click the "+" button near the top of page. This will enable the ACH batch wizard, guiding you through various workflows including: manually creating a new batch, using a previously created batch template, uploading an ACH file, or template management. Clicking on the button labeled "Upload a File" will take you through the ACH file upload wizard.
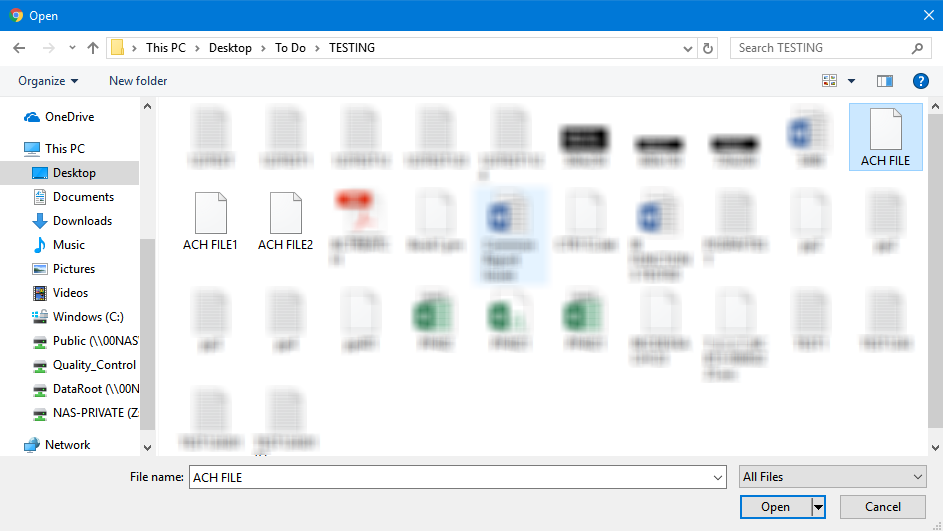
The first step is to select the ACH file you wish to upload. With the new improvements to the system, the system will now determine if you are uploading a NACHA formatted file, or a delimited file.
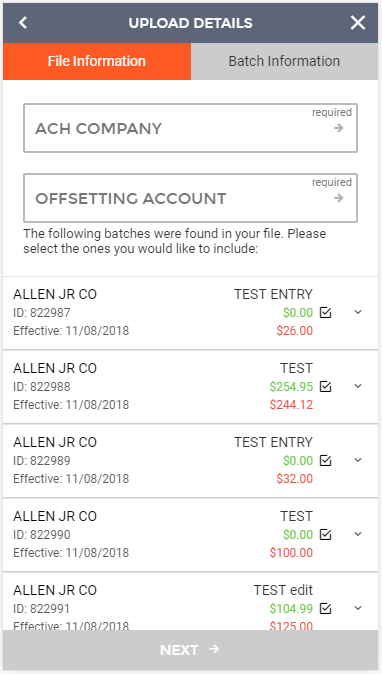
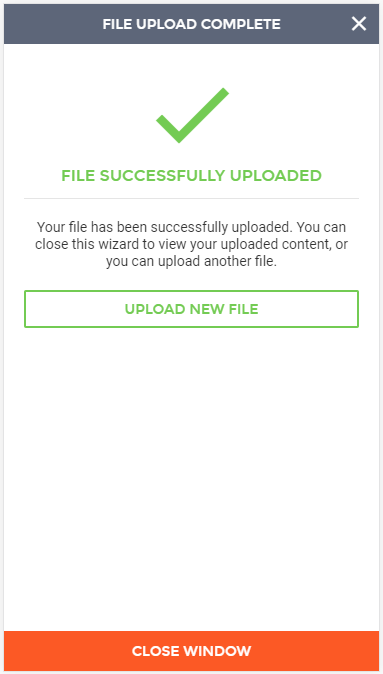
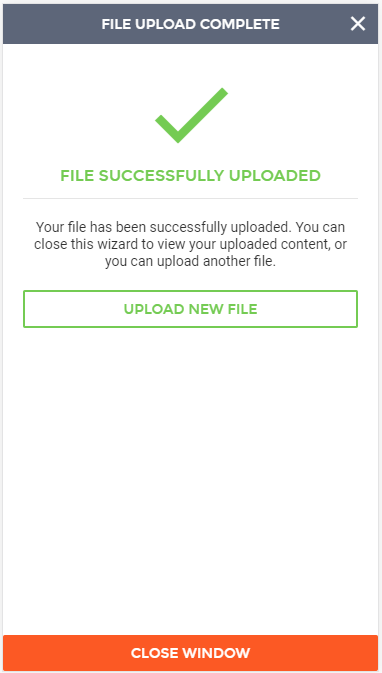
If uploading a NACHA formatted file, you will be taken to a review screen where you can select which batches to include in the upload. Here you will also be required to select the Company and Offsetting Account to be used with this file. Once the process has been finalized, you will receive a confirmation message showing the file was successfully uploaded.
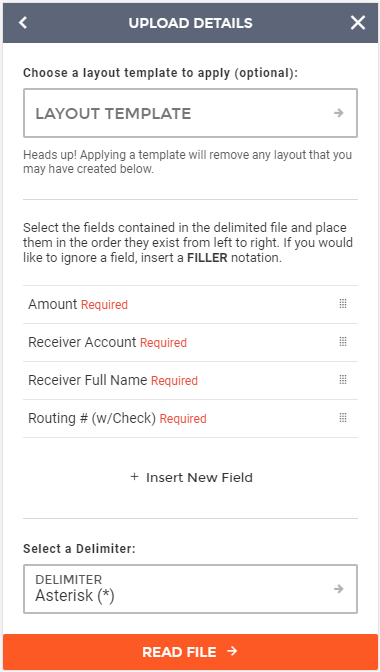
If uploading a delimited formatted file, you will be taken to a screen where you can select which layout template you will like to use, or you can manually build a layout to use.
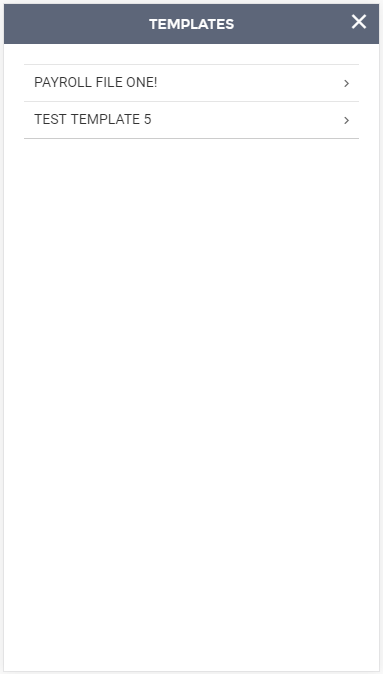
To select a layout template, click the "Layout Template" field. You will be directed to the Templates screen where all previously created templates will be listed.
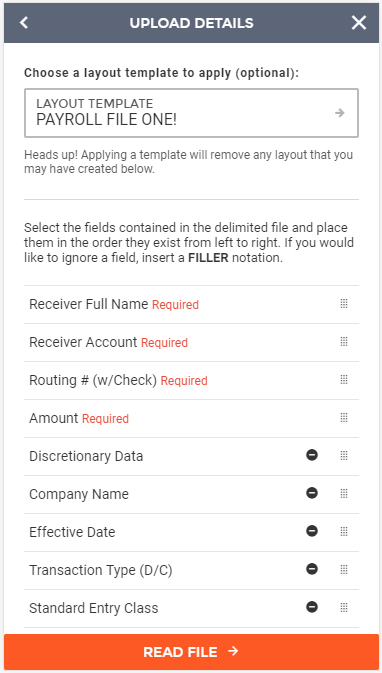
Click on the template you would like to use, and you will be directed back to the Upload Details screen. The file template will be displayed, and you can click the "Read File" button to continue the upload process.
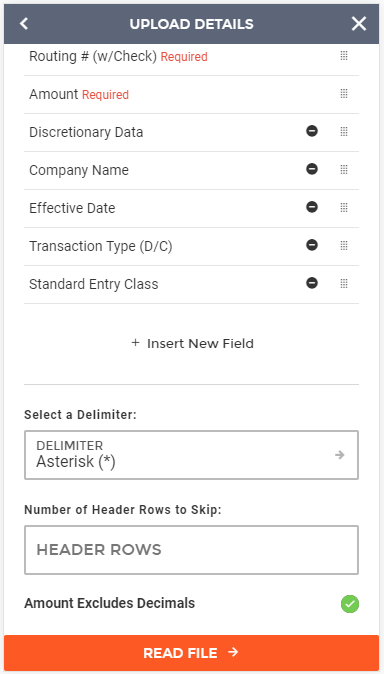
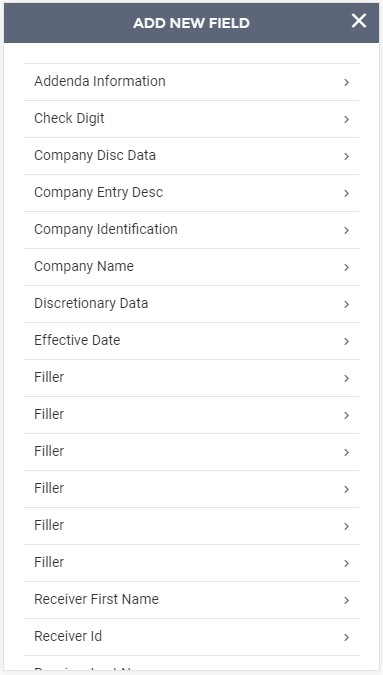
If you do not have a layout template designed for your delimited file, it will be required to complete the upload process. This step ensures that the system knows how to read the delimited file you have provided (as there are various field orders and delimiters that are used by different vendors). To create a layout, you will select the option "+ Insert New Field" on the screen. This will allow the addition of the various fields that are contained within your delimited file. These fields must be in order as they appear in your file. To reorder the fields in the template, you can select and hold on the multi dot icon on the right side of the field. This will allow you to move that field up and down in the order it appears in your file (the topmost fields will be the first fields in the file, while the bottommost fields will be the last fields in the file).
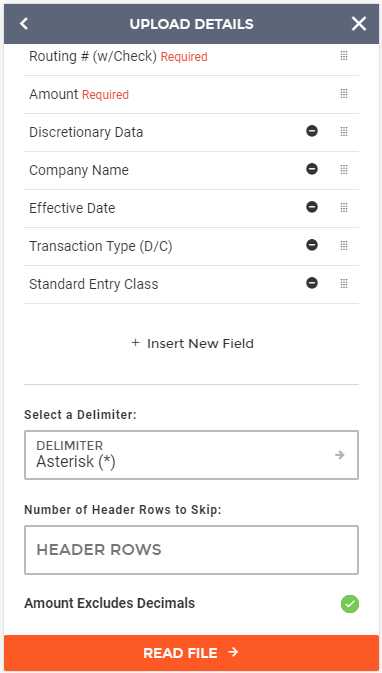
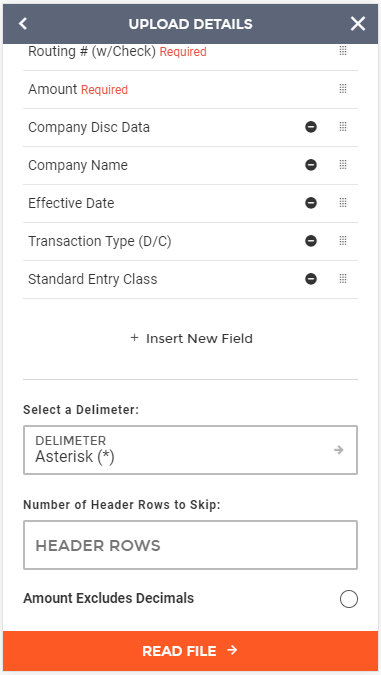
When creating the delimited file layout, you must also select the delimiter that separates each field in the file as well as the number of header rows to skip. Header rows include any information contained at the top of the file that are not necessary to the batch being created.
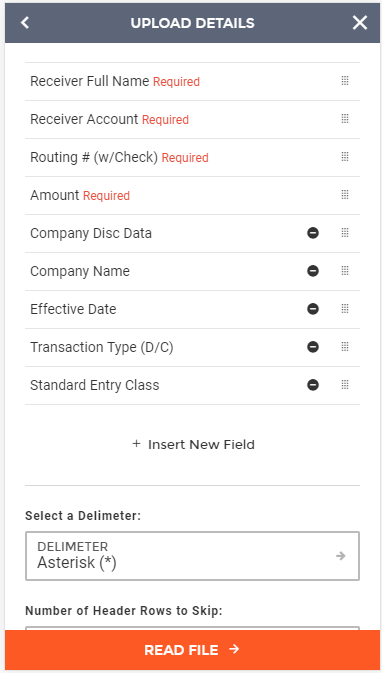
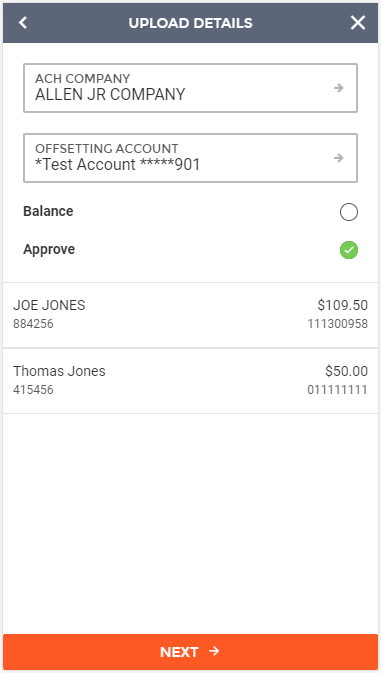
Note: Participant Name is a required field. Once all fields are set as desired, click "Read File" to continue the file upload process. You will be directed to the Upload Details screen where file details will be displayed. Each detail will display the following fields; Receiver Full Name, Receiver Account, Amount, and Routing Number. You must set the ACH Company and Offsetting Account before you can proceed to the next step. Click on the ACH Company field to see a list of companies available for use. Click on the Offsetting Account field to see a list of offsetting accounts available for use.
Depending on account permissions, you may need to set the Balance and Approve options. Enable the "Balance" option to balance the batch upon submission. Enable the "Approve" option to approve the batch upon submission.
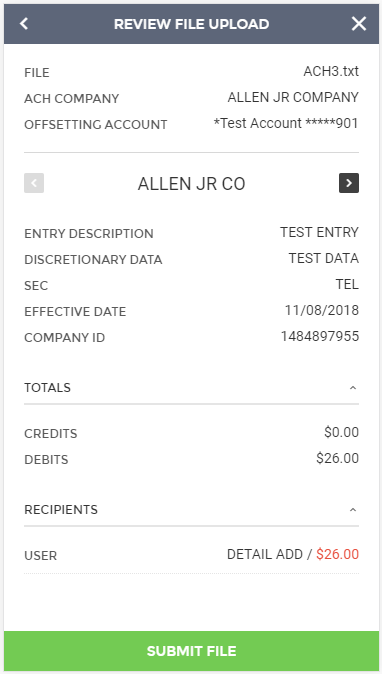
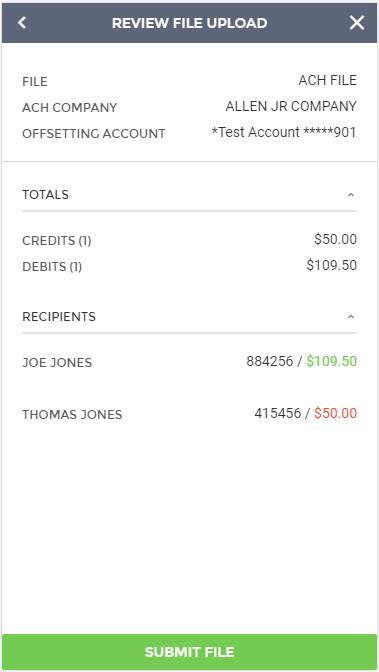
Once fields are set as desired, click "Next" to continue the upload process and move to the Review File Upload screen. The "Review File Upload" screen displays the File Name, ACH Company, Offsetting Account, Total Credits, Total Debits, and all Recipients (Name, Account, Amount). Review the information and click the "Submit File" button to submit.
65821
| ||||


| Top of Page |
Customer Portal
Send Feedback
Print |
||
|
|||