 Customer Portal
Send Feedback
Print
Customer Portal
Send Feedback
Print
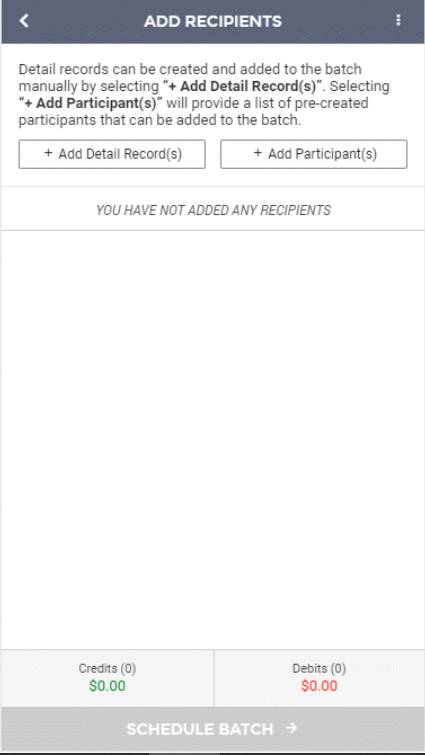
ParticipantsThere are two ways to manage participants: Manual Additions: This uses the + Add Detail Record(s) option.
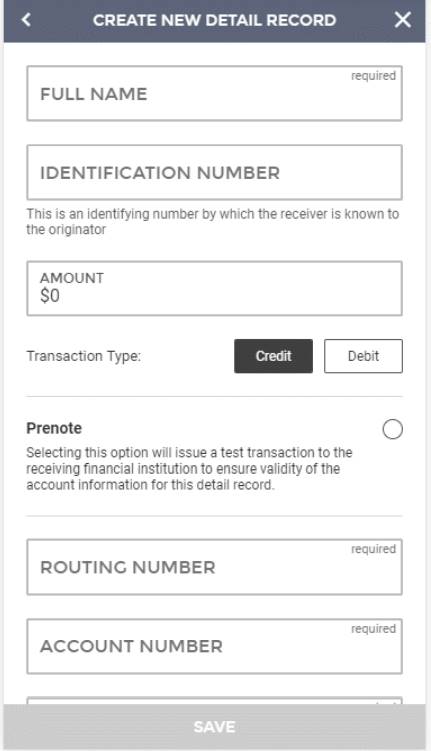
The next screen allows individual recipients (also known as detail records) to be added to the batch. Here you will enter all the recipient’s information, including:
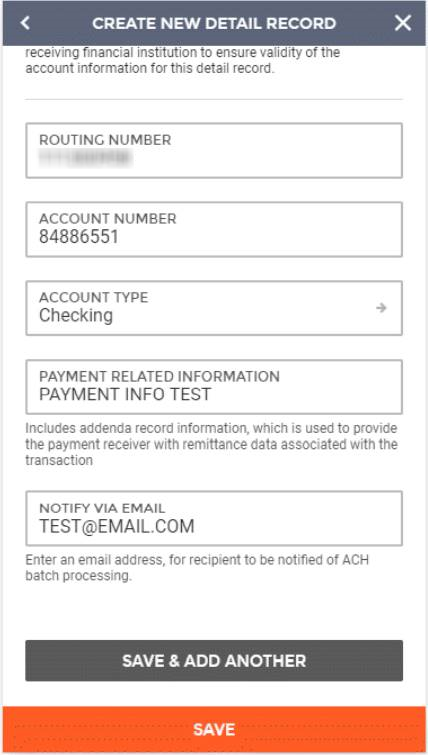
Once these fields have been filled out for the detail record, you can select one of the following:
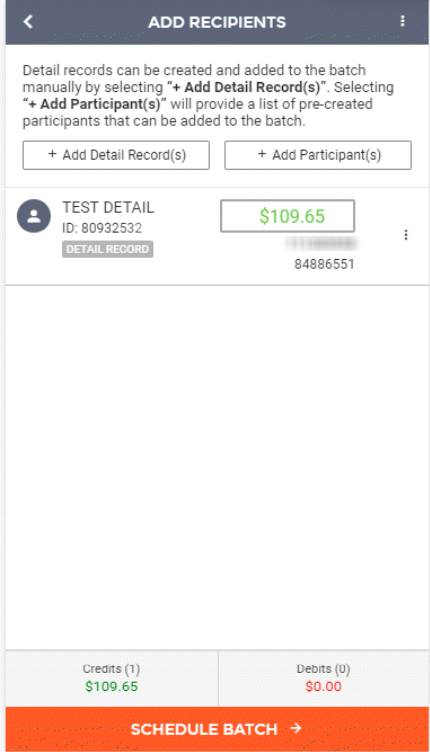
Once this is done, you will be taken back to the Add Recipients page of the ACH batch wizard. If you are ready to schedule the batch, you can click Schedule Batch at the bottom of the screen, taking you to the schedule screen.
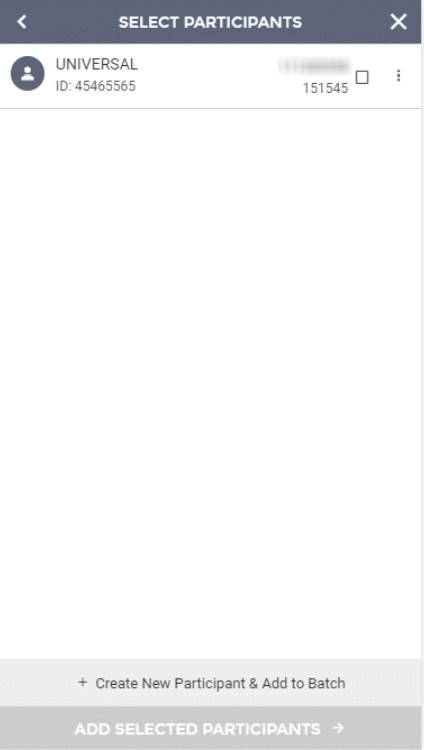
List-Based Additions: This uses the + Add Participant(s) option, which allows you to select from a list of participants that have been built under a company.
The next screen will list all participants built under this company; they can be selected for addition to the batch. All details associated with the participant will automatically be moved into the batch upon selection.
If you do not see the participant you are looking for, you can also manually create new participants from this screen and include them in the current batch. To accomplish this, select the + Create New Participant & Add to Batch button. It will take you to the Add New Participant screen. Here you will enter all the participant’s information, including:
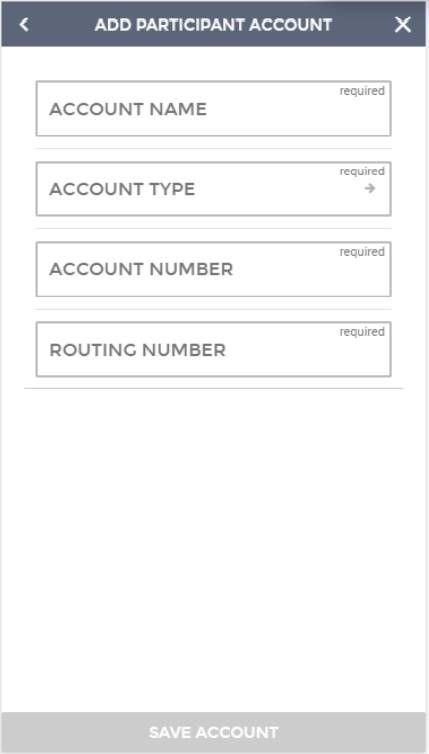
A participant account must be added to save the participant. You can select the + Add Accounts button to add an account. This will take you to the Add Participant Account screen. Here you will enter all the account information, including:
Once these fields have been filled out for the participant account, you can select Save Account. Once this is done, you will be taken back to the Add New Participants page. If you are ready to save the participant, select Save Participant.
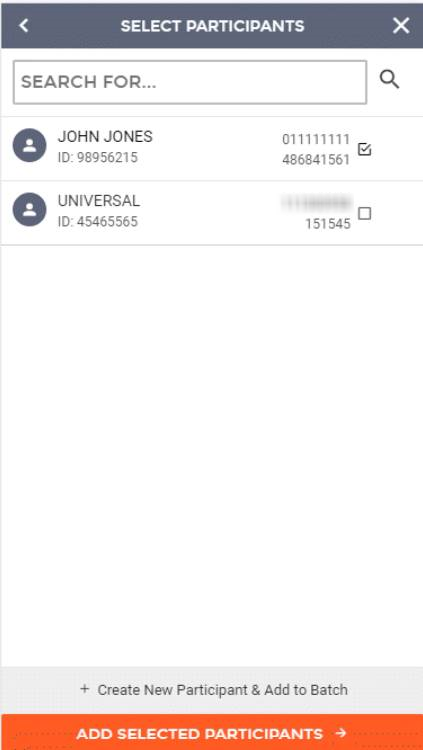
You will be directed back to the Select Participants screen where the participant you just created is marked for selection. You can create additional participants by clicking the +Create New Participant & Add to Batch button and going through the participant setup again. Once all desired participants have been selected, select the Add Selected Participants option to add them to the batch.
You will be directed back to the Add Recipients screen where the selected participants will be displayed. You will need to add an amount and designate the type of transaction for each participant on the Add Recipients screen. 25237
| ||||


| Top of Page |
Customer Portal
Send Feedback
Print |
||
|
|||