Forms tab
Customers use forms to submit specific requests to the bank. Some examples of predefined forms are Change of Address, Stop Payments, or Check Reorders. When Digital Banking is set up, generic forms are included that may be changed or deleted as desired by the financial institution.
Warning! When creating or modifying forms using HTML, do not use Java Script. Java Script may be entered, but will not be retained when the form is saved.
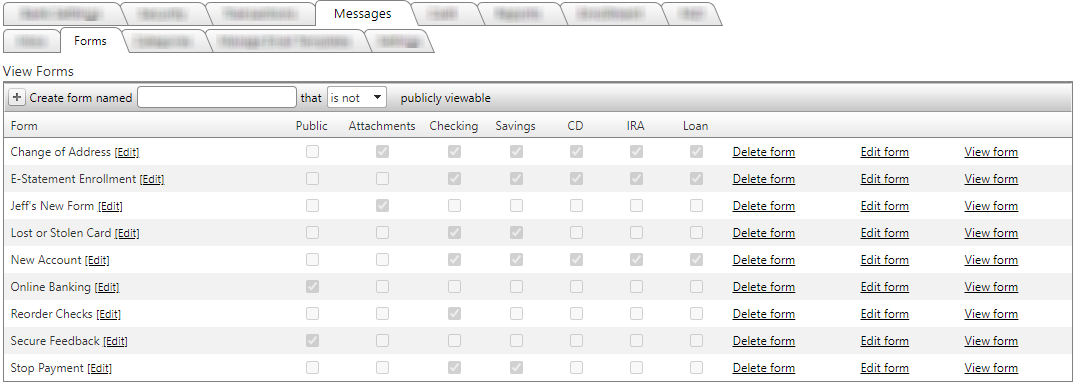
Editing, Deleting, or Viewing an Existing Form
The Edit link to the right of the form name allows the name to be edited.
The links to the right of the checkboxes allow the forms to be deleted, edited, or viewed.
Adding a New Form
The financial institution may also create a new template for additional correspondence options for their customers.
To create a new form:
- Enter the title of the form.
- Select whether or not it will be publicly viewable.
- Then select the + to the left of Create form named field.

- The next screen displays the different options available in the form:
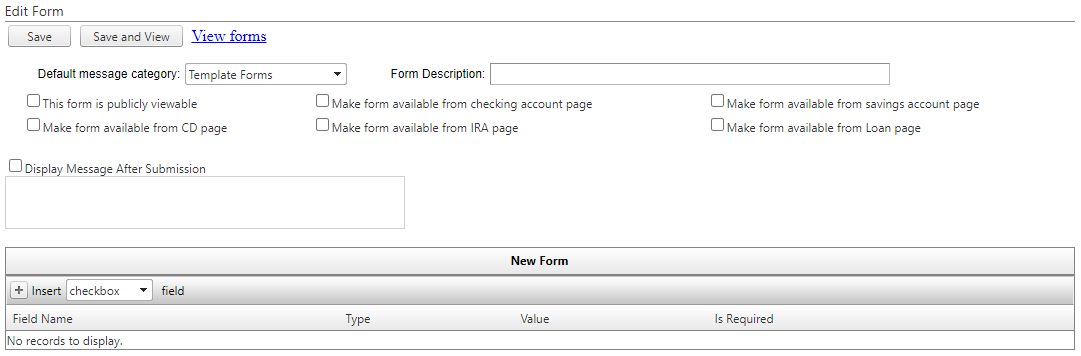
- Default message category: Select the category assigned to this form from the choices in the drop-down box. More categories can be added on the Categories tab.
- Form Description: Enter an explanatory definition of the form.
- Select View Options: Select how the form is viewable using the checkboxes.
- Display Message After Submission: This can be used as a "thank you for your submission" statement from the bank that the customer will see upon submitting a form.
- Insert Fields: You can add fields to display on the form. Select the type of field that you wish to insert, and then select the + button.
- Checkbox: allows the customer to simply select the box if applicable, no input allowed on form creation
Dropdown: you will enter options for the customer to select, separated by a comma
Email: no input from the financial institution is allowed on the form creation
HTML: allows for HTML code. The results of the code are displayed on the form
Link: you will enter the link for the customer to select
Multiline: no input from the financial institution is allowed on the form creation
Numeric: no input from the financial institution is allowed on the form creation
Radio: allows the customer to select the button if applicable, for their response or interaction
Textbox: no input from the financial institution is allowed on the form creation

After you select a field type and the + button, a row will be added to the table, and you can fill in the relevant fields.
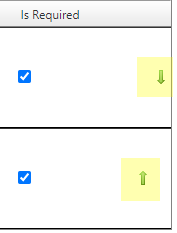
- To rearrange fields in a different order, you can drag and drop them or use the directional arrows.
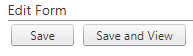
- After creating the form, select Save, or to review, select Save and View.
19461
|
 Customer Portal