 Customer Portal
Send Feedback
Print
Customer Portal
Send Feedback
Print
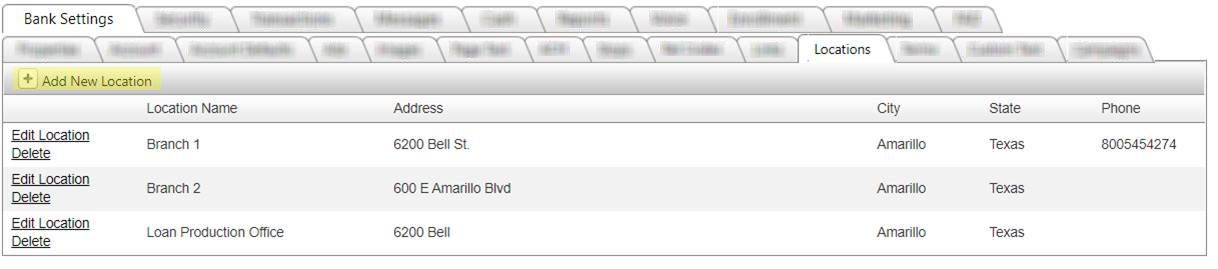
Locations tabThis tab allows you to view and/or perform maintenance on locations for your bank. You can also add new locations. To add branch locations, select Add New Location.
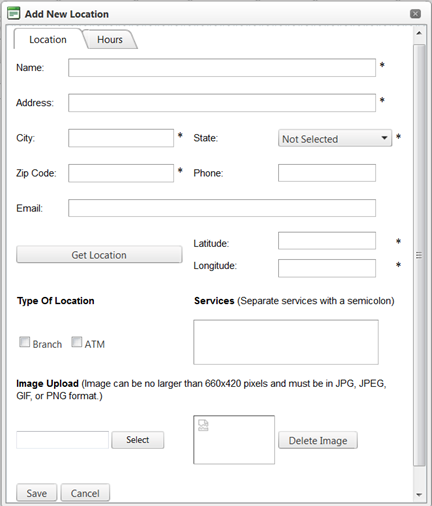
The Add New Location window will be displayed.
Location Tab All required fields are marked with an asterisk.
After completing the location information, you must click Save to save the new location before going to the Hours tab.
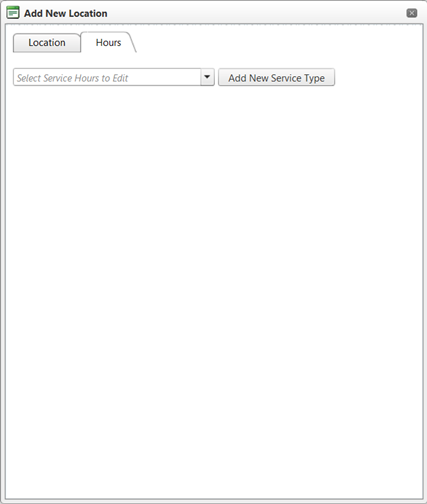
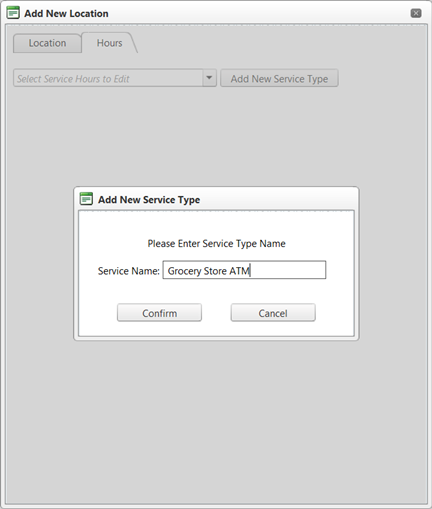
Hours tab The drop down will display all types of services that have previously been added. Choose the desired type, or to add a new service type, click the Add New Service Type button.
Enter the name of the Service Type you wish to add and click Confirm.
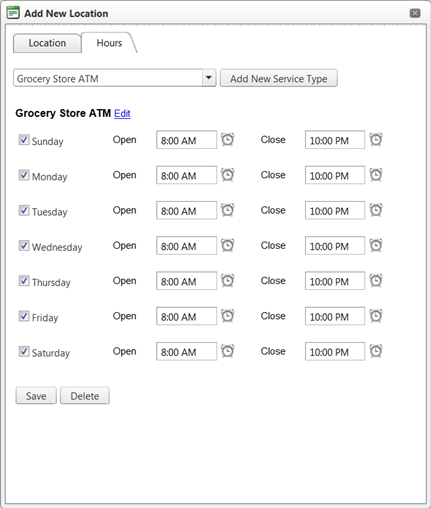
After the service type name is saved, hours for that service type are displayed. All days are enabled by default and all hours default to 12am-12am. Edit the days and hours to when the service is available for that location.
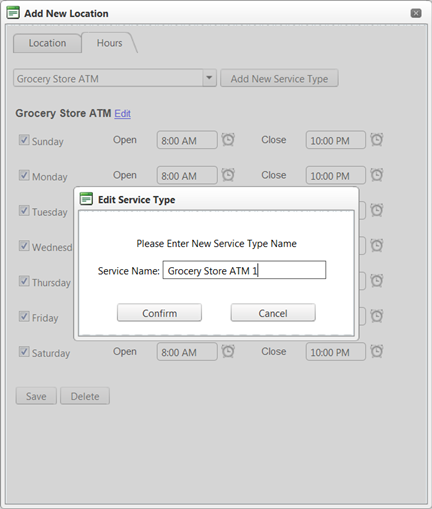
On the Hours tab, you can also edit the name of the service type by clicking the Edit link to the right of the name.
Note: Once a service type is added it is available in the drop down for all locations. The service type name is not location specific, so editing the name will change it for all locations. However, the days and hours set for the service only affect the location currently being edited. When the Hours tab is complete, click Save. You will receive a Save Successful confirmation box. Click OK.
You will need to close the Add New Location pop up by clicking X in the upper right corner. After the location is added, it will be displayed in the Locations grid.
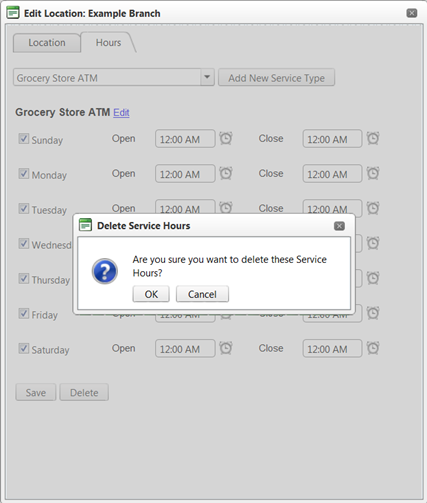
Click Edit Location to edit the settings, or Delete to delete the location. To delete hours for a location's service, click Edit Location link, then the Hours tab. Click the Delete button at the bottom. The hours will be deleted, but you can still add hours to that service type in the future. This is helpful when a service is no longer offered at a particular location, but is still available at other locations.
48134
| ||||

| Top of Page |
Customer Portal
Send Feedback
Print |
||
|
|||