Properties tab
This tab allows maintenance of the general properties and of the theme of the Digital Banking webpage.
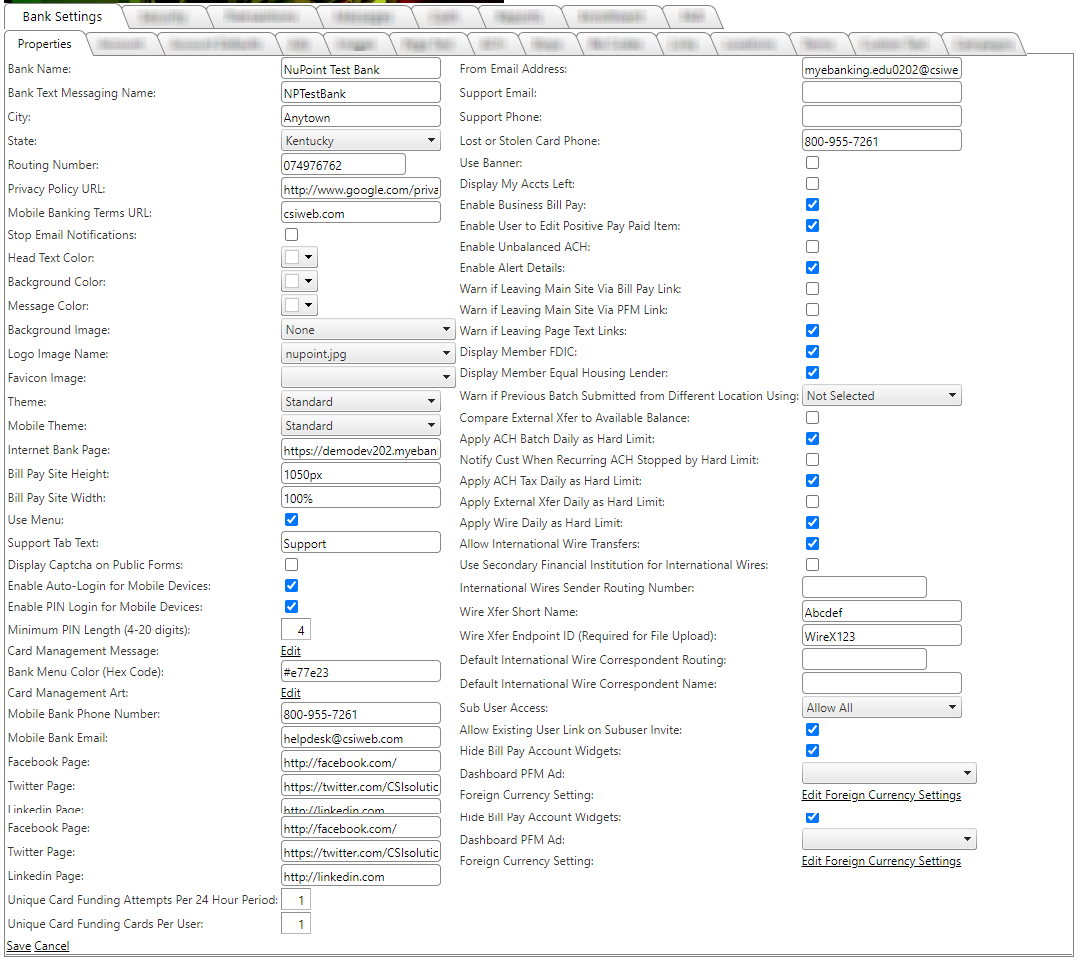
Left Column
- Bank Name: The name of the financial institution.
- Bank Text Messaging Name: only visible when text alerting is enabled for the institution. This appears in the from sender on text alerts.
- City: The financial institution's city.
- State: The financial institution's state.
- Routing Number: The bank's routing number
- Privacy Policy URL: Enter the bank’s URL (website address) to point to the Privacy Policy. When a customer clicks on the Privacy Policy link on the bottom of the page, he is directed to the bank's specific Privacy Policy.
- Mobile Banking Terms URL: Sets URL for Mobile Banking Terms. Alpha Numeric field with a max of 200 characters. No longer used.
- Stop Email Notifications: Not used.
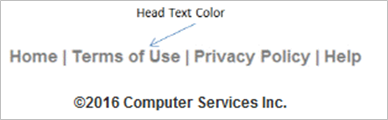
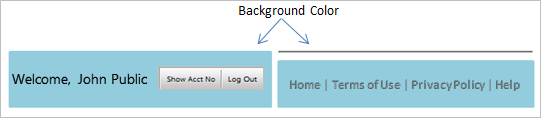
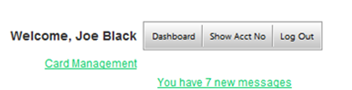
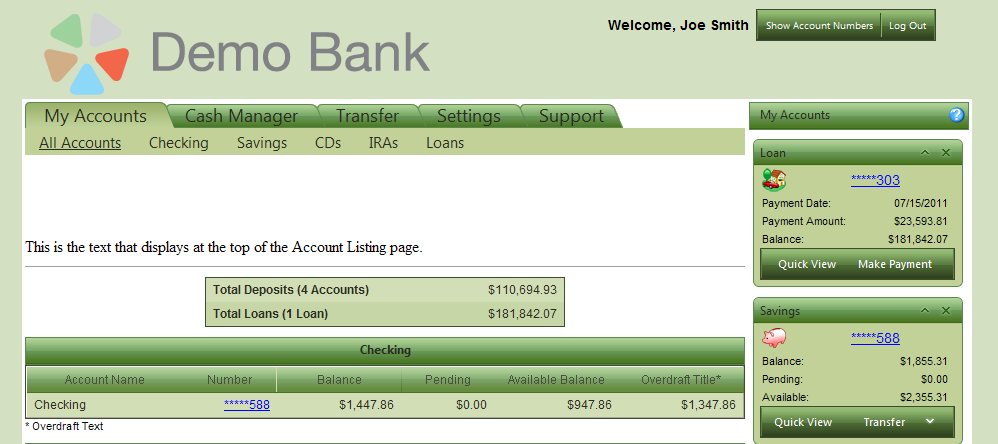
- Head Text Color: This controls the color of the text in the upper right corner of the screen next to the logout button, where it says Welcome: User Name. It also controls the color of the text at the bottom of the page where it says Home, Terms of Use, Privacy Policy, Help, and also CSI's copyright.

Use the drop-down to select the color desired from a wide range of choices to match your internet site:
- Background color: This changes the background color of the header and footer of the page.
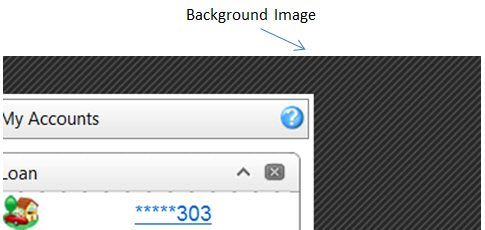
Note: If both a Background Color AND a Background Image are selected, the Background Image overrides the color selection.
Use the drop-down as with the Head Text Color and select from the color choices.
- Message Color: This changes the color of the text for new or unread messages (upper right corner). It also affects the color of the Card Management Link
- Background Image: Allows selection of the background image from those that were uploaded on the Images tab. The image selected displays in the area around the Digital Banking page.
To upload new background images, go to the Images tab.
- Logo Image Name: This gives you the ability to change the logo at the top of the page. To upload new logo images, go to the Images tab.

Select the image from those images uploaded on the Image Tab:
- Favicon Image Name: A Favicon ("Favorite Icon") is the image that appears in header bar, tabs, and the favorites bar of the browser.

The drop down will list images that have been uploaded in the images tab as Favicon Images.
- Theme: Allows change to the theme. This controls the colors, look, and feel of the admin site. For example, Standard_Blue selection results in the color blue in the account type band when selected with mouse pointer.
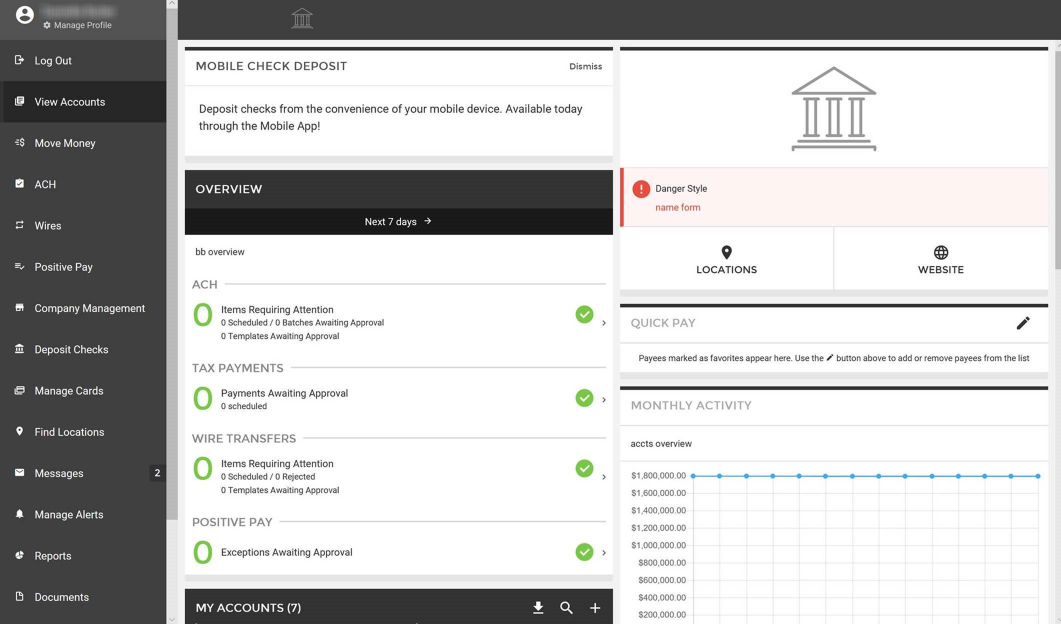
Standard is the most common choice. However, choices exist for variations.
To illustrate the use of themes, the following is an example of Standard_Green. Even though it might not be an option you would want, it illustrates the usage.
- Internet Bank Page: Enter the bank's URL for the homepage website. Clicking Home at the bottom of the screen will go to the site input in this field.
- Bill Pay Site Height: Adjusts the height of the Bill Pay screen on the customer side.
- Bill Pay Site Width: Adjusts the width of the Bill Pay screen on the customer side.
- Use Menu: Changes to the Mega Menu view for all employees and customers. The Mega Menu takes the place of the tab strip menu. Customers will still be able to navigate to all allowable areas but the way in which they navigate to the different pages is different when the Use Menu option is enabled.
Customers will continue to see the main group of menu options; depending on user permissions some of the menu options displayed may not be shown and/or additional options may be shown.
The menu option grouping that contains the page the user is currently on will be highlighted in white and will be underlined in orange. Hovering over any of the main menu options will cause the menu to expand and all available pages that the user can navigate to will be displayed. Again, the options displayed may be different based on bank settings and customer permissions.
- Support Tab Text: Specify the title for the Support tab.
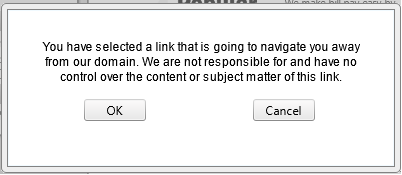
- Display Captcha on Public Forms: This requires the user to enter the characters displayed in the image on the page when they submit the form. This prevents bots and scripts from automatically submitting forms and generating spam for the bank to sort through. Public Pages are designated by marking "This form is publicly viewable" in Messages >> Forms.
- Enable Auto-Login for Mobile Devices: Must be enabled for your bank in order to be visible. When checked, auto-login is available for mobile devices.
- Enable PIN Login for Mobile Devices: If checked, this option will allow a customer to log into Digital Banking on their own mobile device using a PIN authentication. If it is unchecked then the bank will not allow PIN login.
- Minimum PIN Length: This field will be used in digital banking to determine the minimum length of user PINs. It can be set anywhere from 4-20 and is defaulted to 4. Only numerical characters are allowed in the field.
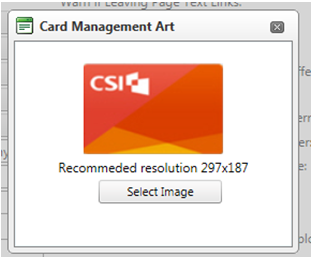
- Card Management Art: click on the Edit link to view or change card art.
- Mobile Bank Phone Number: Must be enabled by CSI in order to be visible. Not mandatory. < and > cannot be used in this field.
- Mobile Bank Email: Must be enabled by CSI in order to be visible. In the Mobile Bank Email field a proper email address is required. Alphanumeric characters are allowed.
- Facebook page: The URL for the financial institution's Facebook page.
- Twitter page: The URL for the financial institution's Twitter page.
- LinkedIn page: The URL for the financial institution's LinkedIn page.
- Unique Card Funding Attempts Per 24 Hour Period: How many times a customer is allowed to attempt card funding in a 24 hour period.
- Unique Card Funding Cards Per User: How many times a user is allowed to attempt card funding before user is locked out.
Right Column:
ACH Access
|
Approve Own Batch
|
Wire Transfer Approval
|
Edit ACH Debits
|
Unbalanced ACH Batch
|
Approve Own Wire Transfers
|
Edit ACH Credits
|
ACH Tax Payment
|
Wire Transfers Rejection
|
Edit ACH Amt Only
|
Approve ACH Tax
|
Delete Wire Transfers
|
ACH Participants Only
|
Wire Transfer Access
|
Delete Own Wires
|
Approve ACH Batch
|
Wire w/o Template
|
Positive Pay Access
|
Note: The Financial Institution cannot set up Sub-Users for customers.
- Allow Existing User on Subuser Invite: Checking this field allows a sub-user who is invited to IB to be able to login using a master user’s credentials and merge both the sub-user and master user’s accounts together. When they receive the invite email link and click on it they will be taken to the User Setup page and have the ability to choose "I already have a user name." They will then login using master user credentials.
- Hide Bill Pay Account Widgets: Allows the bank to show or hide the Bill Pay options per customer level.
- Dashboard PFM Ad:
- Foreign Currency Setting: Allows the setup of foreign currency within digital banking for transactional purposes.
19429
|
 Customer Portal