 Customer Portal
 Send Feedback
 Print
Print
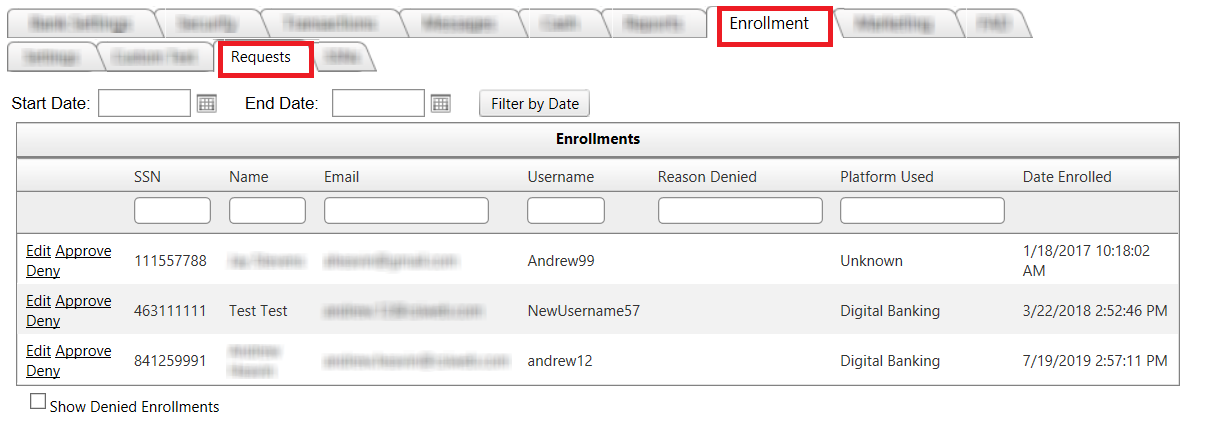
Managing Self Enrollment RequestsAs an admin user, you are responsible for reviewing enrollment requests and making decisions about them. You can locate the requests in the Digital Admin site under Enrollment >> Requests Tab.
Employees should review the information supplied in this screen then follow internal bank procedures for deciding.
If an enrollment request is approved, four things automatically happen:
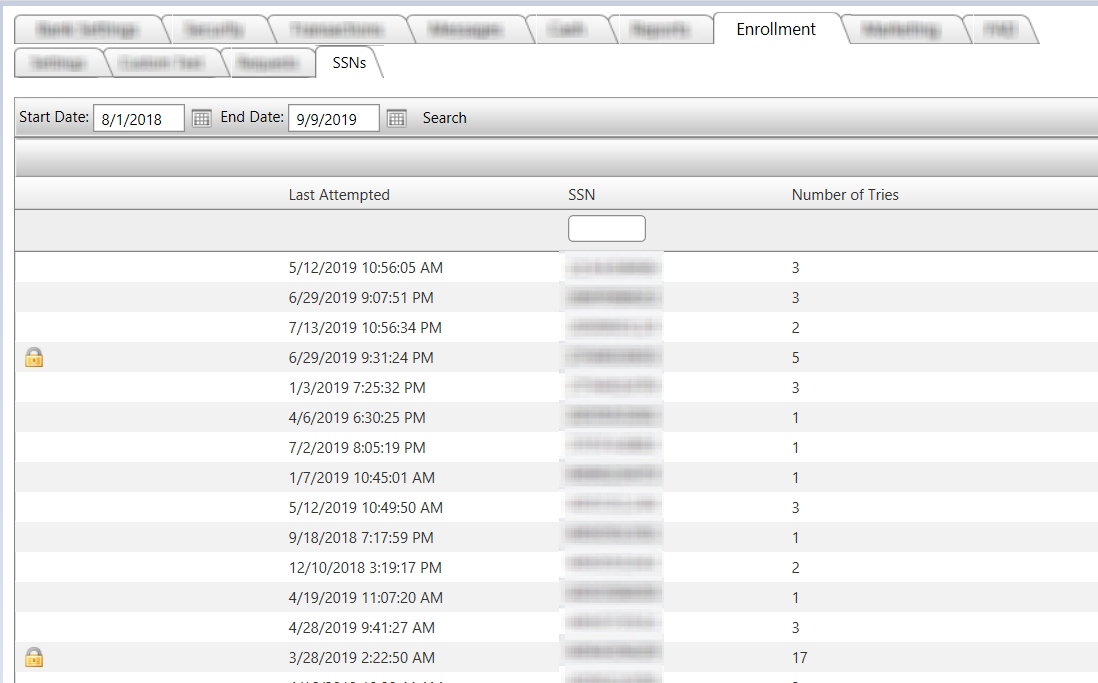
Unless customized by the bank, customers have three attempts to complete self registration.
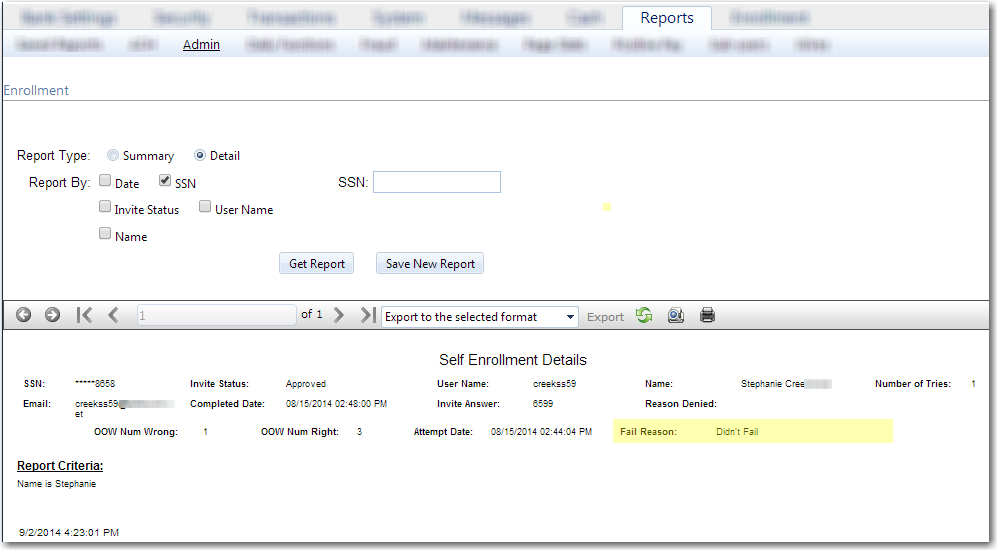
If the SSN appears on this list with a padlock icon on the left, the customer has successfully locked themselves out of Self Enrollment. To unlock simply click on the pad lock next to the SSN. At this point the customer can either try to self-enroll again or administrator can manually set them up for Digital Banking. If you want to review more details regarding the lock out, you may review the Self-Enrollment report found under Reports >> Admin >> Self Enrollment. The report can be generated by SSN, Date, Name, Username, or Invite Status. The most efficient way is to search by SSN.
The reports display the failed reason if any. It also displays the number of tries for the user.
68471
| |||||
| Top of Page |
 Customer Portal
 Send Feedback
 Print
Print |
||
|
|||


